No edit summary Tags: Visual edit apiedit |
No edit summary Tag: rte-wysiwyg |
||
| Line 2: | Line 2: | ||
|+'''''Standing Attacks''''' |
|+'''''Standing Attacks''''' |
||
|- |
|- |
||
| − | ! style="text-align:center;"|Moves |
+ | ! style="text-align: center;"|Moves |
| − | ! colspan="3" style="text-align:center;"|Controls |
+ | ! colspan="3" style="text-align: center;"|Controls |
| − | ! style="text-align:center;"|Clip |
+ | ! style="text-align: center;"|Clip |
|- |
|- |
||
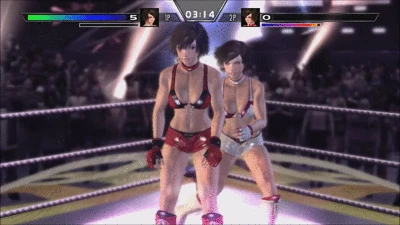
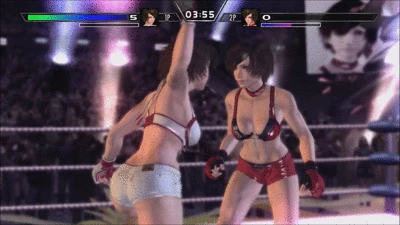
| − | | style="text-align:center;"|Left Cross |
+ | | style="text-align: center;"|Left Cross |
| − | | style="text-align:center;"| |
+ | | style="text-align: center;"| |
|[[File:Button X.png|centre|thumb|30x30px]] |
|[[File:Button X.png|centre|thumb|30x30px]] |
||
| − | | style="text-align:center;"| |
+ | | style="text-align: center;"| |
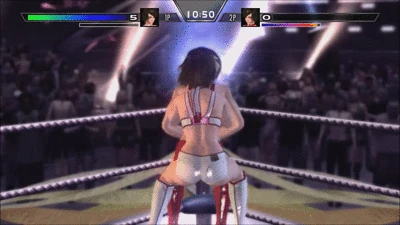
| style="text-align:center;" |[[File:Left Cross.gif|thumb|250x250px|centre]] |
| style="text-align:center;" |[[File:Left Cross.gif|thumb|250x250px|centre]] |
||
|- |
|- |
||
| − | | style="text-align:center;" | |
+ | | style="text-align:center;" | |
| + | Standing |
||
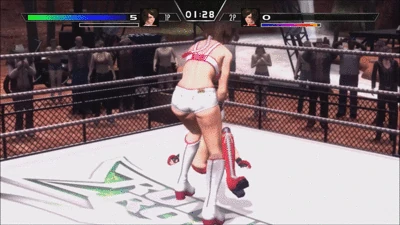
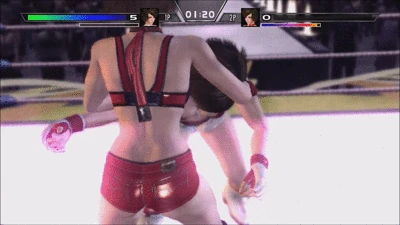
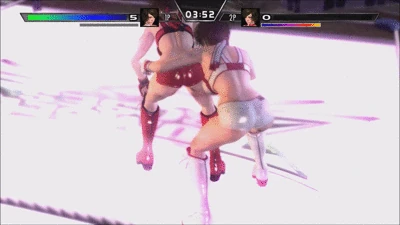
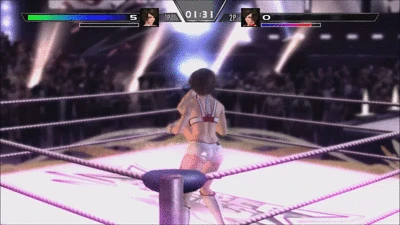
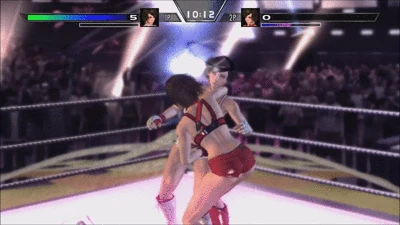
Dropkick |
Dropkick |
||
|[[File:Arrow Up.png|centre|thumb|32x32px]] |
|[[File:Arrow Up.png|centre|thumb|32x32px]] |
||
| Line 19: | Line 20: | ||
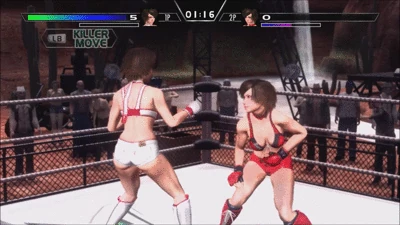
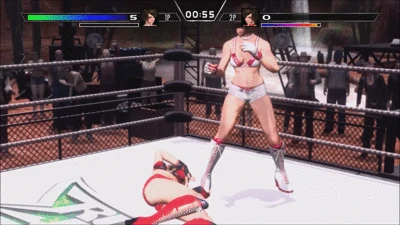
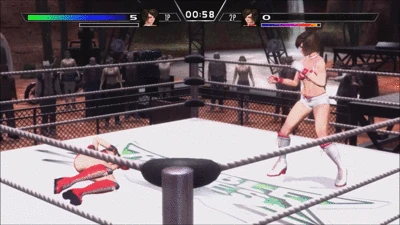
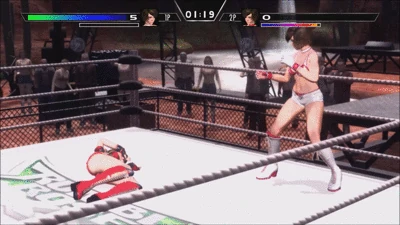
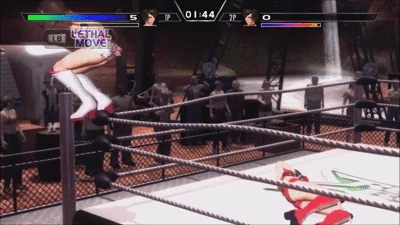
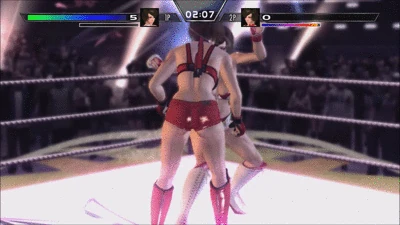
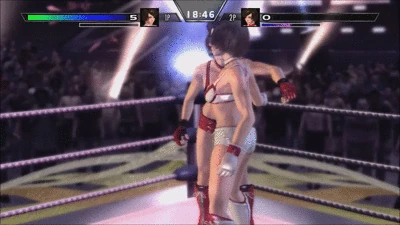
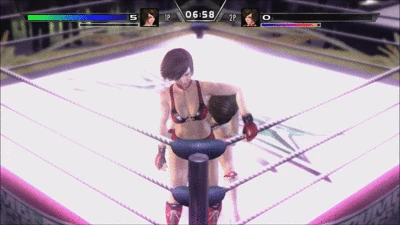
| style="text-align:center;"|[[File:Standing Dropkick.gif|centre|thumb|250x250px]] |
| style="text-align:center;"|[[File:Standing Dropkick.gif|centre|thumb|250x250px]] |
||
|- |
|- |
||
| − | | style="text-align:center;" | |
+ | | style="text-align:center;" | |
| + | Roundhouse |
||
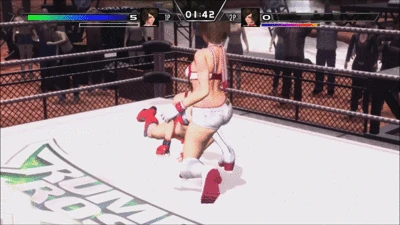
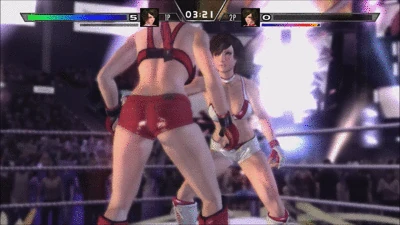
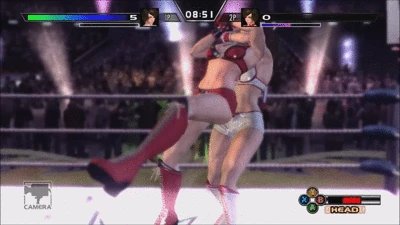
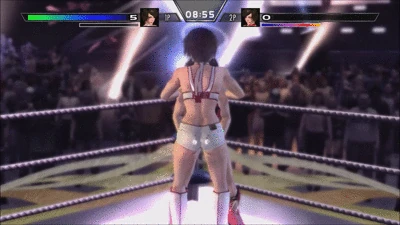
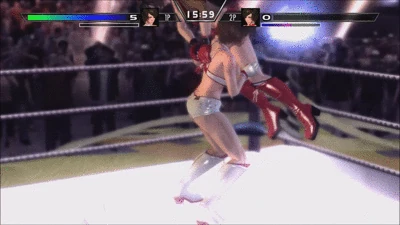
Kick |
Kick |
||
|[[File:Arrow Down.png|centre|thumb|32x32px]] |
|[[File:Arrow Down.png|centre|thumb|32x32px]] |
||
| Line 26: | Line 28: | ||
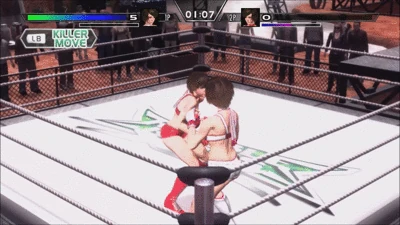
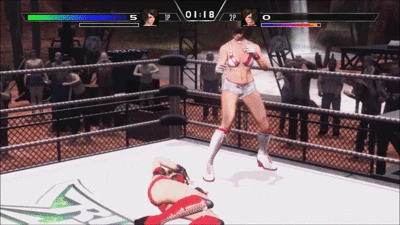
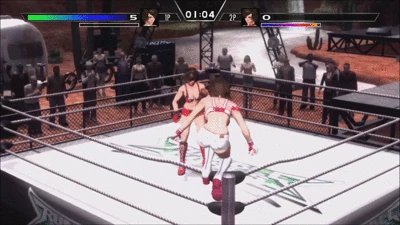
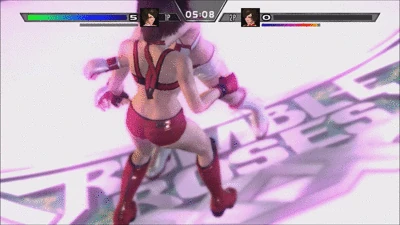
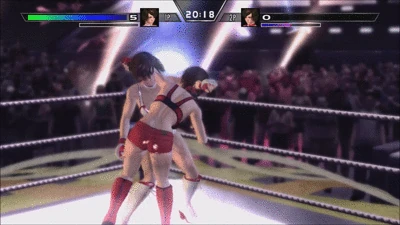
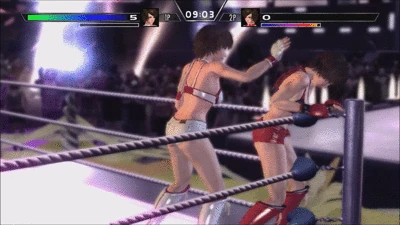
| style="text-align:center;" |[[File:Roundhouse Kick.gif|thumb|250x250px|centre]] |
| style="text-align:center;" |[[File:Roundhouse Kick.gif|thumb|250x250px|centre]] |
||
|- |
|- |
||
| + | | |
||
| − | |Knifehand |
||
| + | <p style="text-align: center;">Knifehand</p> |
||
| − | Chop |
||
| + | <p style="text-align: center;">Chop</p> |
||
| style="text-align:center;" |[[File:Arrow_Left.png|thumb|32px|centre]] |
| style="text-align:center;" |[[File:Arrow_Left.png|thumb|32px|centre]] |
||
|[[File:Plus Sign.png|centre|thumb|22x22px]] |
|[[File:Plus Sign.png|centre|thumb|22x22px]] |
||
| Line 33: | Line 36: | ||
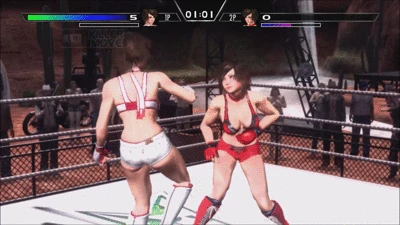
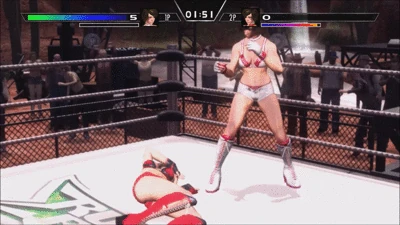
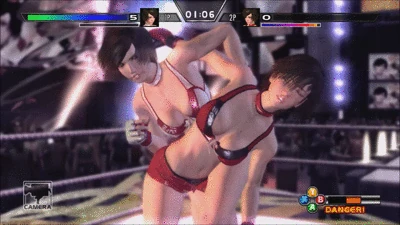
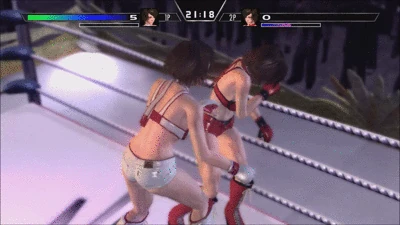
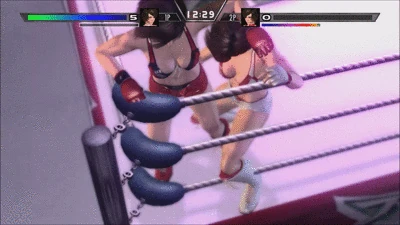
| style="text-align:center;"|[[File:Knifehand Chop.gif|centre|thumb|250x250px]] |
| style="text-align:center;"|[[File:Knifehand Chop.gif|centre|thumb|250x250px]] |
||
|- |
|- |
||
| − | | style="text-align:center;" | |
+ | | style="text-align:center;" | |
| + | Elbow |
||
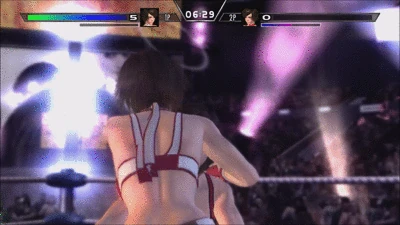
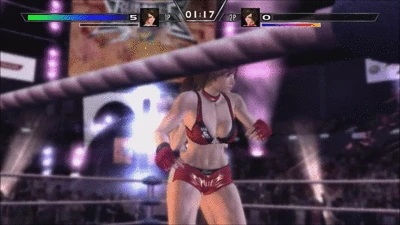
Strike |
Strike |
||
|[[File:Arrow Right.png|centre|thumb|32x32px]] |
|[[File:Arrow Right.png|centre|thumb|32x32px]] |
||
| Line 119: | Line 123: | ||
Drop |
Drop |
||
|[[File:Arrow Up.png|centre|thumb|32x32px]]<p style="text-align:center;">or</p> |
|[[File:Arrow Up.png|centre|thumb|32x32px]]<p style="text-align:center;">or</p> |
||
| + | |||
[[File:Arrow Down.png|centre|thumb|32x32px]] |
[[File:Arrow Down.png|centre|thumb|32x32px]] |
||
| style="text-align:center;" |[[File:Plus Sign.png|centre|thumb|22x22px]] |
| style="text-align:center;" |[[File:Plus Sign.png|centre|thumb|22x22px]] |
||
| Line 128: | Line 133: | ||
Dropkick |
Dropkick |
||
|[[File:Arrow Left.png|centre|thumb|32x32px]]<p style="text-align:center;">or</p> |
|[[File:Arrow Left.png|centre|thumb|32x32px]]<p style="text-align:center;">or</p> |
||
| + | |||
[[File:Arrow Right.png|centre|thumb|32x32px]] |
[[File:Arrow Right.png|centre|thumb|32x32px]] |
||
| style="text-align:center;" |[[File:Plus Sign.png|centre|thumb|22x22px]] |
| style="text-align:center;" |[[File:Plus Sign.png|centre|thumb|22x22px]] |
||
| Line 166: | Line 172: | ||
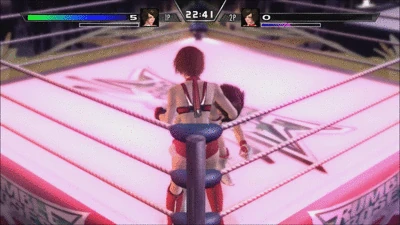
| style="text-align:center;" |Diving |
| style="text-align:center;" |Diving |
||
Elbow Drop |
Elbow Drop |
||
| − | |[[File:Arrow Up.png|centre|thumb|32x32px]]<p style="text-align:center;">or</p> |
+ | |[[File:Arrow Up.png|centre|thumb|32x32px]]<p style="text-align:center;">or</p> |
| + | [[File:Arrow Down.png|centre|thumb|32x32px]] |
||
| style="text-align:center;" |[[File:Plus Sign.png|centre|thumb|22x22px]] |
| style="text-align:center;" |[[File:Plus Sign.png|centre|thumb|22x22px]] |
||
|[[File:Button X.png|centre|thumb|32x32px]] |
|[[File:Button X.png|centre|thumb|32x32px]] |
||
| Line 655: | Line 662: | ||
|- |
|- |
||
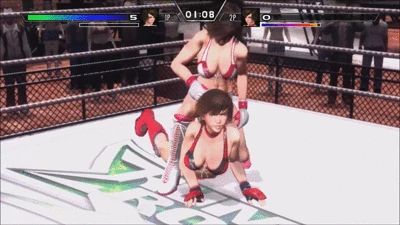
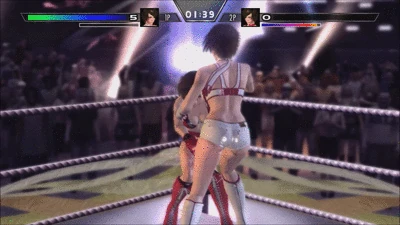
| style="text-align:center;"|Hip Toss |
| style="text-align:center;"|Hip Toss |
||
| − | |[[File:Arrow Up.png|centre|thumb|32x32px]]<p style="text-align:center;">or</p> |
+ | |[[File:Arrow Up.png|centre|thumb|32x32px]]<p style="text-align:center;">or</p> |
| + | [[File:Arrow Down.png|centre|thumb|32x32px]] |
||
|[[File:Plus Sign.png|centre|thumb|22x22px]] |
|[[File:Plus Sign.png|centre|thumb|22x22px]] |
||
|[[File:Button Y.png|centre|thumb|32x32px]] |
|[[File:Button Y.png|centre|thumb|32x32px]] |
||
Revision as of 04:10, 9 August 2015
| Moves | Controls | Clip | ||
|---|---|---|---|---|
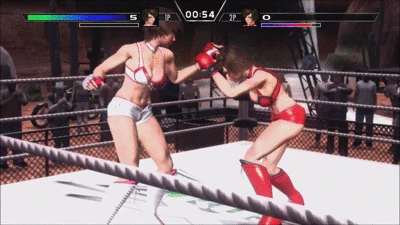
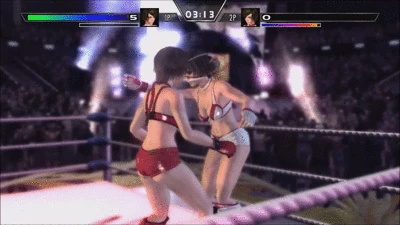
| Left Cross |  |
|||
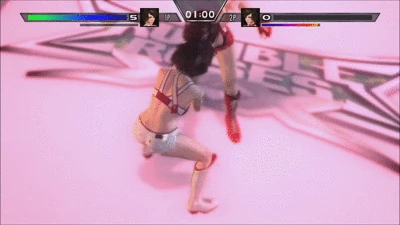
|
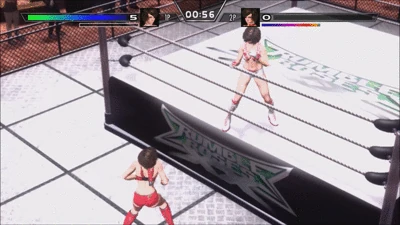
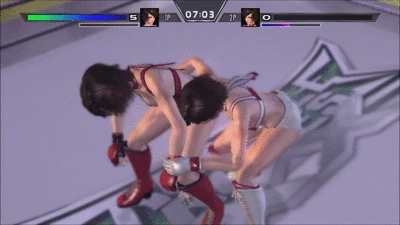
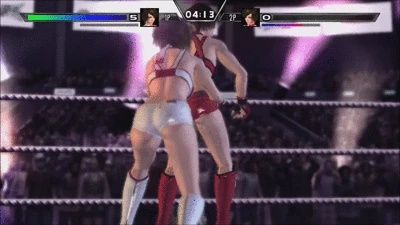
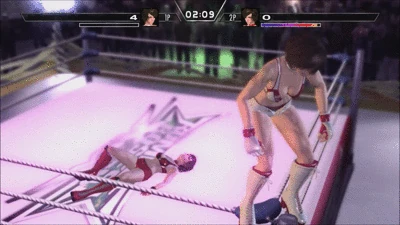
Standing Dropkick |
 |
 |
||
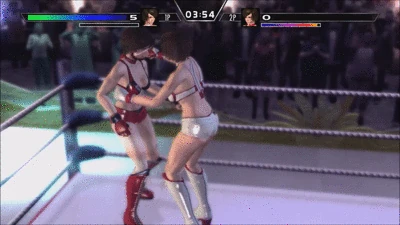
|
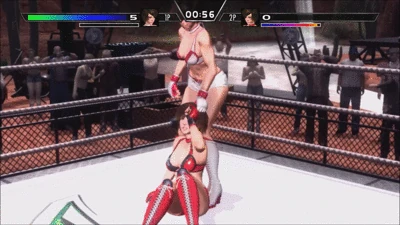
Roundhouse Kick |
|
|
||
|
Knifehand Chop |
|
|
||
|
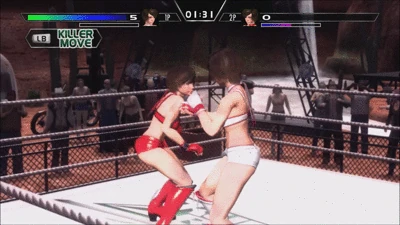
Elbow Strike |
|
|
||


| Moves | Controls | Clip |
|---|---|---|
| 1. Left Cross |  |
|
| 2. Right Jab | | |
| 3. Left Cross | | |
| 4. Right Punch | |

| Moves | Controls | Clip | ||
|---|---|---|---|---|
| Thrust
Kick |
|
|||
| Running
Elbow Strike |
|
|
||
| Forearm
Smash |
|
|||
| Low
Dropkick |
while opponent is sitting) |


| Moves |
Controls |
Clip | |||
|---|---|---|---|---|---|
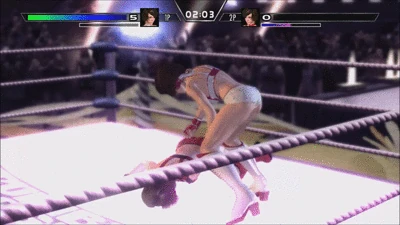
| Stomp | |
||||
| Elbow
Drop |
or |
|
|
||
| Low
Dropkick |
or |
|
|
||
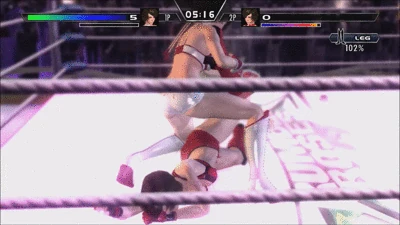
| Leaping
Elbow |
|
while running | |||
| Elbow
Drop |
|
|
while running | ||


| Moves | Controls | Clip | ||
|---|---|---|---|---|
| Missile
Dropkick |
|
|||
| Diving
Elbow Drop |
or |
|
|
|
| Rounding
Moonsault |
or
|
 |
|


| Moves | Controls | Clip | ||
|---|---|---|---|---|
| Plancha | |
|
||
| Suicide Dive |   |
|
||


| Moves | Controls | Clip |
|---|---|---|
| Slap | |
|
| Uppercut | | |
| Right Punch | |

| Moves | Controls | Clip | |
|---|---|---|---|
| Punch to
Temple |
|
grabbing head on opponent's back | |
| Stomp to Hamstrings | |
grabbing legs on opponent's back | |
| Slap to Face | |
grabbing head on opponent's front | |
| Slap to Head | |
grabbing legs on opponent's front | |


| Moves | Controls | Clip | ||||||
|---|---|---|---|---|---|---|---|---|
| Rib Breaker | |
  |
|
|
||||
| Scoop Slam | |
|
|
|
||||
| Northern
Lights Suplex |
|
|
|
|
||||
| DDT | |
|
|
|
||||
| Arm Trap
Neckbreaker |
|
|
|
|
||||
| Vertical
Suplex |
|
|
|
|
||||
| Cross
Armbreaker |
|
|
|
|
||||
| Abdominal
Stretch |
|
|
|
|


| Moves | Controls | Clip | ||
|---|---|---|---|---|
| Over The Shoulder
Back-to-Belly Piledriver |
|
|
||
| Fisherman
Driver |
|
|
||
| Victory
Roll |
|
|
||
| Cross
Armbreaker |
|
|


| Moves | Controlls | Clip | ||
|---|---|---|---|---|
|
One-Handed Bulldog |
|
|
||
| Atomic Drop | |
|
||
| Back Suplex | |
|
  | |
| Sleeper Hold | |
|


| Moves | Controls | Clip | ||
|---|---|---|---|---|
| Hurricanrana | |
|
||
|
Release German Suplex |
|
|
||
|
Bridging German Suplex |
|
|
||
|
Rear Naked Choke |
|
|


| Moves | Controls | Clip | ||
|---|---|---|---|---|
|
Arm-Triangle Choke |
|
|
||
|
Knee Drop to Arm |
|
|
||
| La Magistral | |
|
  | |
|
Cross Armbreaker |
|
|


| Moves | Controls | Clip | ||
|---|---|---|---|---|
|
Figure-Four Leglock |
|
|
||
|
Standing Moonsault |
|
|
||
|
Knee Smash |
|
|
||
| Chain Grapple | |
|
(See Table Below) |


| Moves | Controls | Clip | ||
|---|---|---|---|---|
|
Single Leg Boston Crab (Default) |
|
|
||
| Kneebar | (Default) | |
||
| STF | (Default) | |


| Moves |
Controls |
Clip | ||
|---|---|---|---|---|
| Flip Over | |
|||
|
Lariat Takedown |
|
|


| Moves | Controls | Clip | ||
|---|---|---|---|---|
| Hurricanrana | |
|||
|
Tilt-A-Whril DDT |
|
|

| Moves | Controls | Clip | ||
|---|---|---|---|---|
|
Release German Suplex |
|
|||
| or | ||||
| |
|

| Moves | Controls | Clips | ||
|---|---|---|---|---|
|
Big Back Body Drop |
|
|||
| Hip Toss | or |
|
|
|
|
Tilt-A-Whirl Backbreaker |
or
|
|
|

| Moves | Controls | Clip | ||
|---|---|---|---|---|
| Step-Up High Knee | |
|

| Moves | Controls | Clip | ||
|---|---|---|---|---|
| Superplex | |
|
||
| DDT | |
|
||
|
Vertical Suplex |
|
|
||
|
Top Rope Hurricanrana |
|
|


|
Moves |
Controls |
Clip | ||
|---|---|---|---|---|
|
Super Back Suplex |
|
|
||
| Back Suplex | |
|
||
|
Release German Suplex |
|
|
||
| Spider Suplex | |
|


| Moves | Controls | Clip | ||
|---|---|---|---|---|
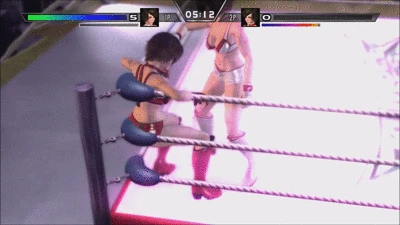
|
Rope-Aided Corner Dropkick |
|
|

| Moves | Controls | Clip |
|---|---|---|
|
Sunrise Suplex |
  |
|
|
Angel Dive |
(while on the turnbuckle, with opponent lying on back) |
|
|
Lock Type Zero |
  |


